3 Simple Steps to Learning
First off, I must admit that this is not my invention! It is one of the things that makes Montessori great and one of the very reasons the Montessori Way resonates with me so much. It does because the child is at the center of what is done, how we teach and how we relate to others.
One of the first things we do unconsciously or should be doing with a child is to introduce them to their environment, their surroundings. It is never sufficient to say to a child:’car’ or ‘book’, please always remember to speak in full sentences. So you would say instead, ‘This is a car’ or ‘That is a book’. That said, lets cut to the chase and explore these 3 simple steps to teaching your child new and interesting things about their environment.
Step 1 : Naming things (Period 1 -This is…) Let’s say you want to introduce to a child parts of a room for example: the floor, wall and ceiling…(please do not think that is too big a word for your one and a half year old to handle, it isn’t! Also I have found that it doesn’t really matter whether they can talk or not. They still get it and they will remember. So you want to introduce these different areas in the room to a child you would point to the floor and say: ‘ This is the floor’ and again say: ‘floor. This is the floor’. Depending on the age and what you think your child can cope with you could then introduce the next item by pointing to the wall and saying ‘This is a wall’ point to another wall and say again, ‘wall. This is a wall’. Point back to the floor and say This is the floor’ and then point to the wall and say ‘This is a wall’. This is the end of Lesson 1. Obviously if you are working with an older child like a two and a half year old who is speaking for example I would add on a third item like the ceiling. Usually if I don’t add on the third item on day one, I usually would later on once I start getting the signs that my child is getting it. This is how I know that my child is getting it.
Step 2 Let them point out the item (Period 2 Show me…) On another day, most probably the next day, say to your child, ‘Show me the floor’, if your child got you yesterday she would point to the floor. If not they please no abuse, no spanking, no anger, no nothing please! Just point at the floor and say, ‘This is the floor’. I know its difficult and not the way we would do things but this is the best way to get your child to get it without pressure or any stress. They will get it. So you continue to do this Step 1, This is…(name the object) then Step 2 next time you ask ‘Show me …(name the object ?) until your child points to the right object and they will sometimes get it first time and if not they will get it and you move on Ye…pee to the next step.
Step 3 Let your child name the object (Period 3 What is this?) This is the final step which you would use only with a speaking child. Ask the child who can show you the item by pointing to it when you name it, ‘What is this?’ The child should be able to recall the name of the item asked and would naturally answer in a complete sentence, saying ‘This is the floor ‘ or ‘It is the floor’. If your child replies and says ‘floor’ for example, simple say ‘Yes, this is the floor’. Each time your reinforce the answer with a sentence your child will eventually pick up the trend and start using sentences instead. Simply put your child has now been able to learn the name of one or two items in his environment without much stress and you simply continue to add on to his knowledge by adding on some new items each day and going through the same process, as they grow older you can introduce five new words and work through the steps to ensure that most of these basic words are known and understood.
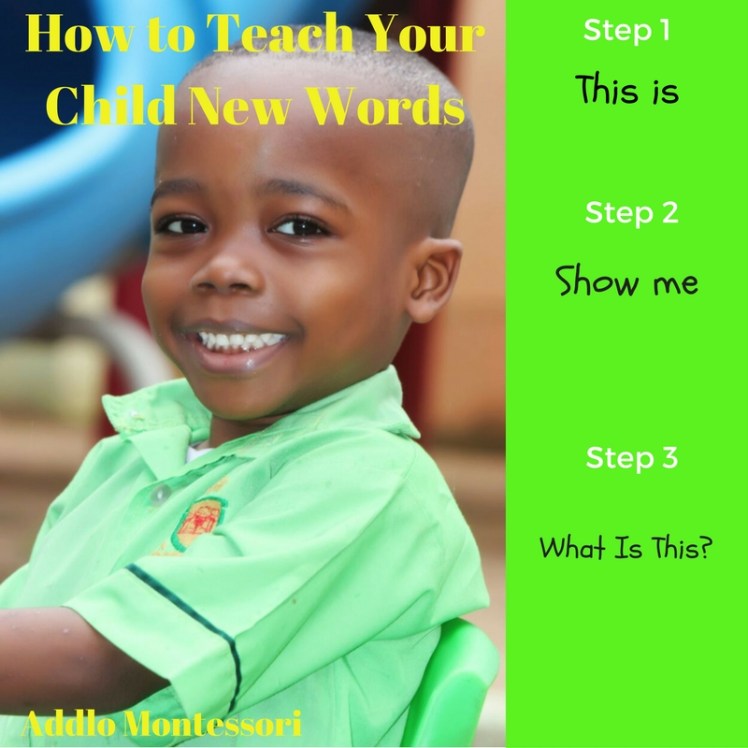
These 3 simple steps: This is… Show me… and What is this…? are what we call The 3 period Lessons and we use this to teach children the names of things around them. It does work and it is less stressful and very easy for the child to learn things. The main point of this method is that you start off by naming the object in Step 1 but by the end of the process your child is the one who names the object himself in Step 3 and without your help or prompting! Remember a child should always be given time to take in the information, that is all he needs so that it can remain with him for life and not just for a few days or months or a year and then its gone because he crammed it and did not really understand. Please use this method and tell me what you think. Enjoy teaching your child the easy way.
